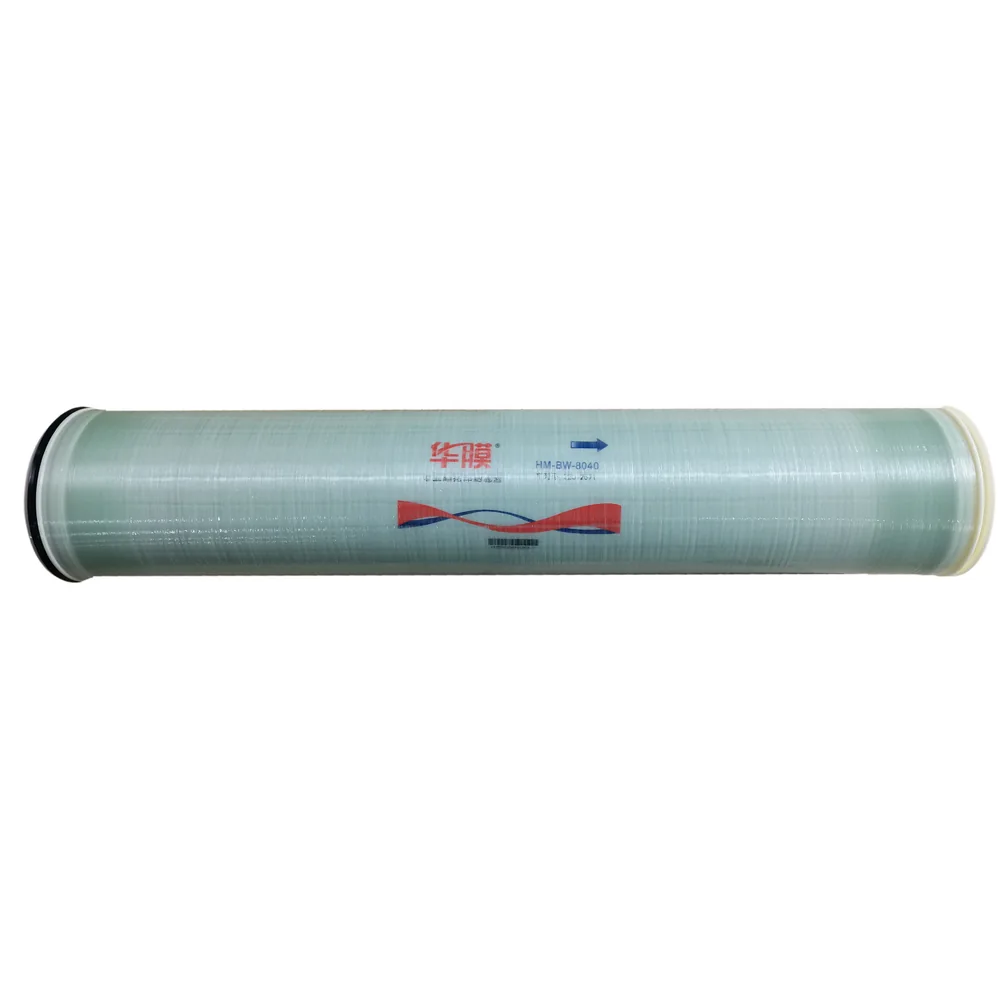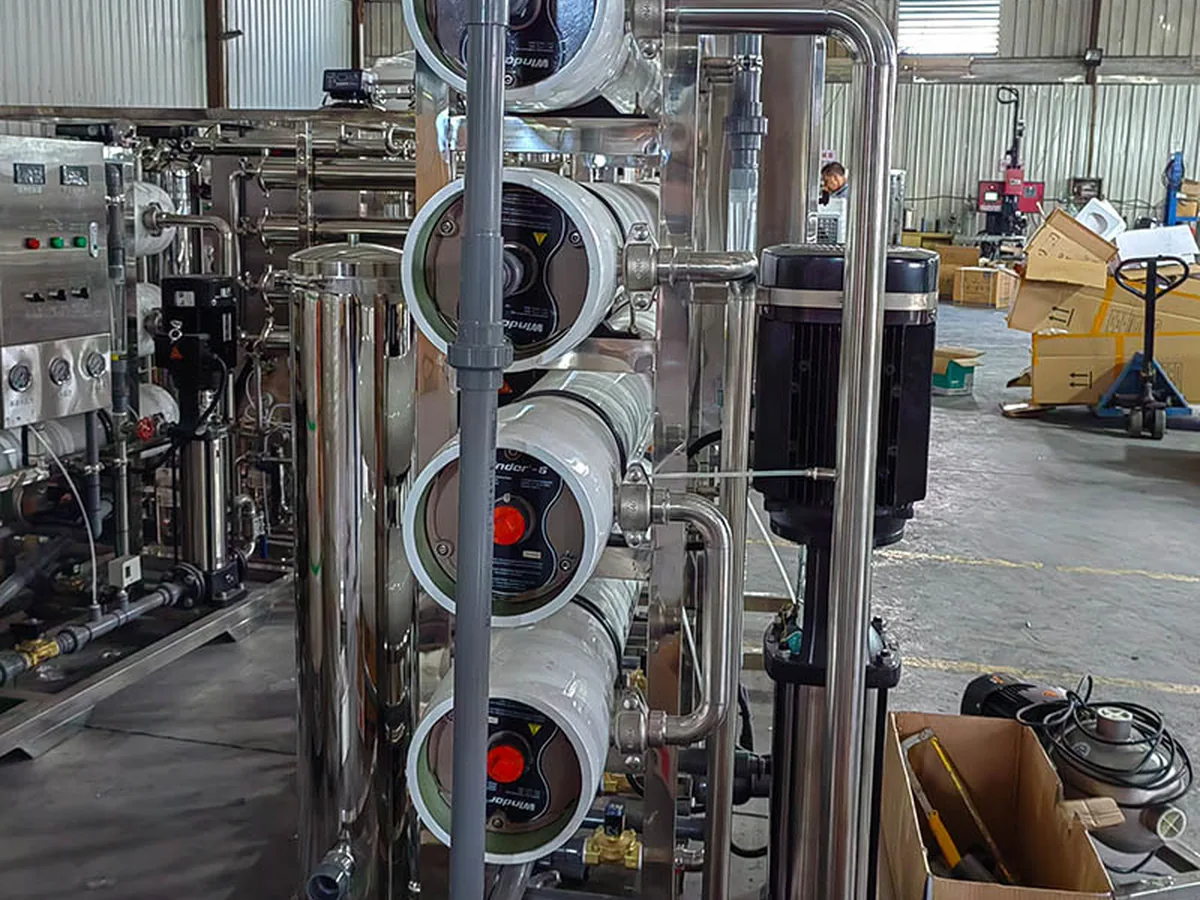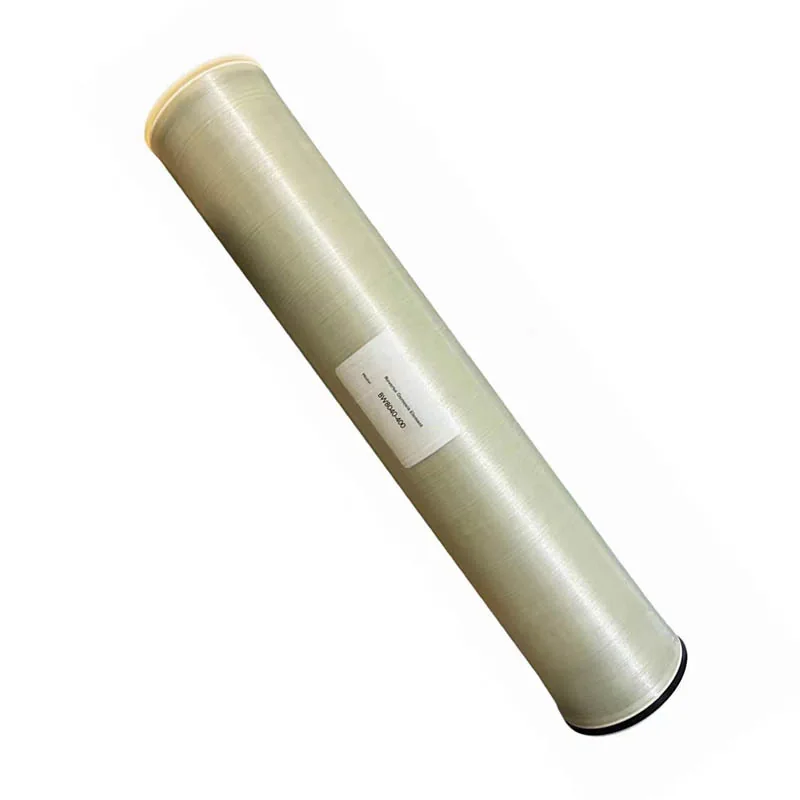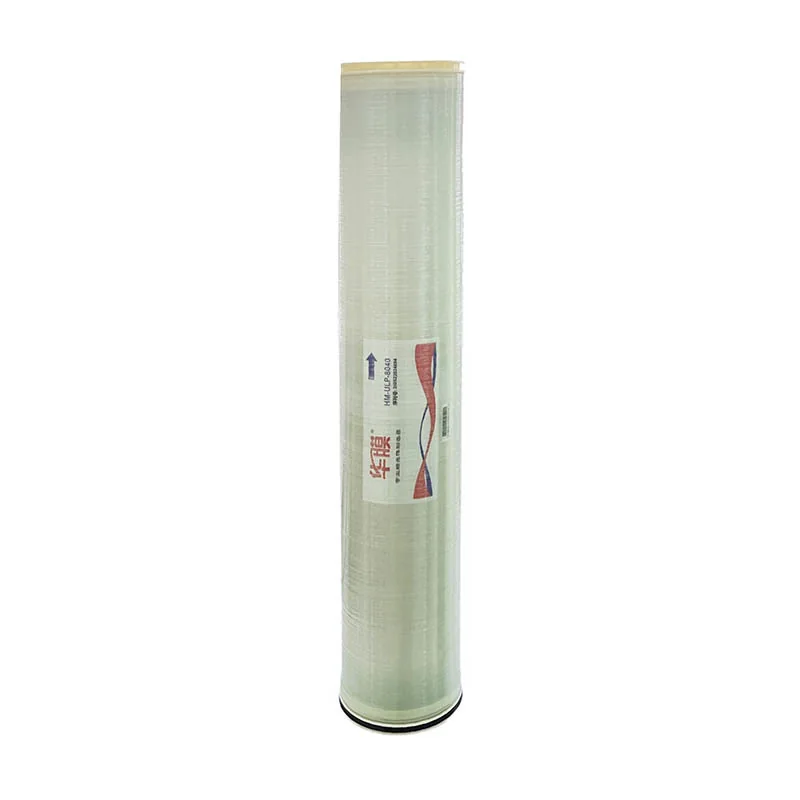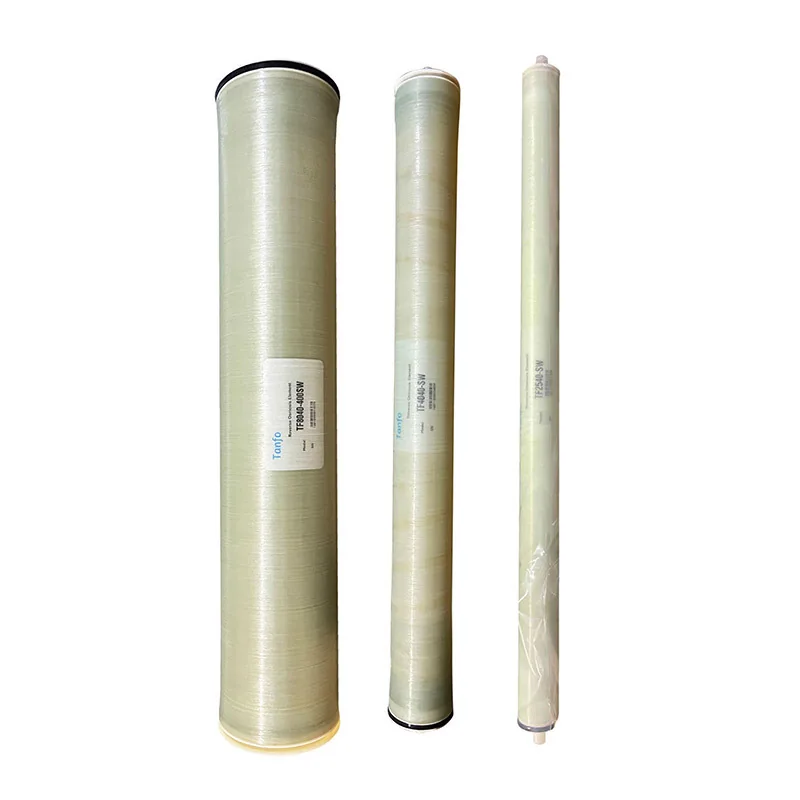
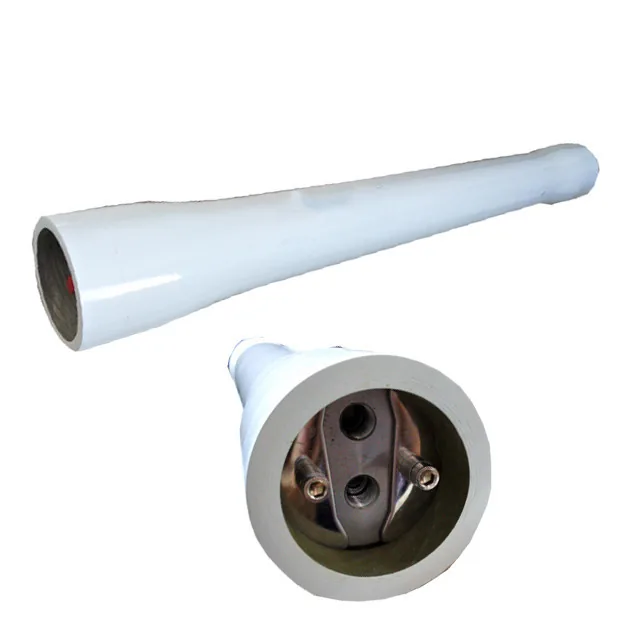
Replacing an RO membrane element looks like a straightforward mechanical job. In practice, most complaints after a change-out — low flow, high conductivity, leaks, or a sudden pressure drop — trace back to a small detail being skipped: a nicked O-ring, a dry brine seal, elements loaded in the wrong order, or a plant restarted too quickly. This field procedure applies to standard 4040 and 8040 FRP pressure vessels.
1. Prepare before shutdown
- Confirm the replacement model, quantity and the loading order for each vessel. Keep the datasheet on site.
- Prepare tools: head-closure tool, strap wrenches, lubricant only as approved by the vessel manufacturer (typically silicone grease or glycerine — never petroleum-based oil), clean buckets, new O-rings and brine seals, and PPE.
- Record a baseline of normalized permeate flow, conductivity and differential pressure before shutdown so you can verify the improvement afterwards.
- Schedule the work when the plant can be flushed and soaked; a rushed change-out is a common cause of poor initial performance.
2. Isolate, depressurize and drain
Stop the high-pressure pump, close the feed and concentrate isolation valves, and relieve all pressure through the designated vent. Verify zero pressure before loosening any head closure — this is non-negotiable with vessels rated up to 1,200 psi. Drain the vessel and collect the displaced water.
3. Remove the head assemblies
Remove the retaining rings or end-cap fasteners following the vessel manufacturer's sequence, then pull the head assembly straight out without levering against the FRP shell or the permeate port. Label heads so they return to the same vessel end. Inspect the head, permeate port O-rings and thrust ring for cracking, swelling or chemical attack, and replace anything questionable.
4. Extract the old elements and inspect the vessel
Push the elements out from the feed end in the direction of flow. Keep them in order: the condition of the lead and tail elements tells you a lot about the plant. A heavily fouled lead element suggests particulate or biological fouling; scale on the tail element points to excessive recovery or antiscalant problems.
Wipe the inside of the vessel with a clean, lint-free cloth and check for scoring, corrosion of fittings or residual debris. Look for any water bypass path that would explain a conductivity problem.
5. Install the new elements
- Unpack only when ready. Keep new elements moist and protected from sunlight and freezing until installation.
- Check each element's brine seal orientation. Lubricate O-rings and seals lightly with the approved lubricant only — oil, grease and dirt on connections will contaminate the membrane.
- Insert elements in the flow direction indicated on the vessel, connecting interconnectors fully as you go. Do not force an element; if it binds, stop and check alignment.
- Load the correct number of elements for the vessel length and fit the thrust ring and head assemblies with new or inspected seals.
6. Flush and start up gradually
With the concentrate valve open, start the feed at low pressure and flush to drain until the permeate is free of preservation solution and air. Ramp the high-pressure pump up slowly to operating pressure. Check for leaks at both heads and at the permeate ports, then adjust the concentrate and permeate valves to the design flow and recovery.
Discard the first permeate as required by the membrane datasheet. Stabilized salt rejection is generally reached within 24–48 hours of continuous operation, so do not judge the new elements on the first reading alone.
7. Document the change-out
Record date, vessel ID, element models and serial/batch numbers, loading positions, seal replacements and startup readings. Compare normalized performance against the baseline from step 1. These records are invaluable when a warranty question or a performance investigation comes up months later.
Storage and handling reminders
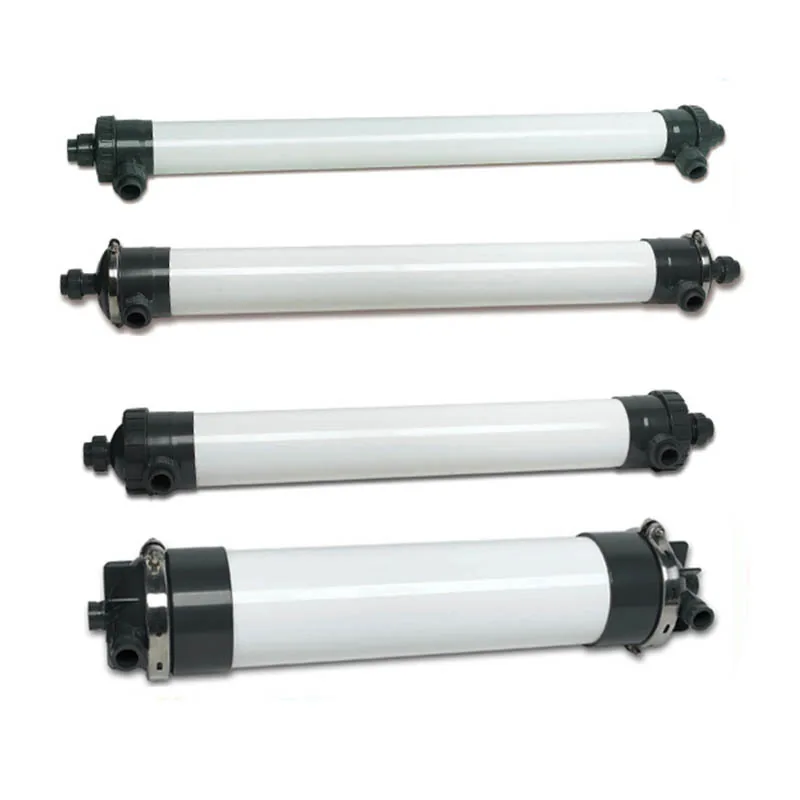
Keep spare elements sealed in their original packaging, indoors, away from direct sunlight and UV, protected from freezing, and stored horizontally. HUAMO UF modules must never be allowed to dry out — leave the preservation liquid in place until commissioning, and if operation is interrupted, refill with clean water to maintain humidity.
Need the correct replacement model or a loading plan for your array? Contact our technical team with your vessel length and current element labels.
Related questions
How often should RO membranes be replaced?
There is no universal interval. With good pretreatment many industrial elements run several years. Replace when cleaning no longer restores normalized flux or salt rejection, or when mechanical damage or oxidation is confirmed.
Can I mix new and used elements in one vessel?
It is generally not recommended. Differences in flux and pressure drop cause uneven loading and can accelerate fouling of the newer elements. If unavoidable, place new elements at the tail end and consult the manufacturer.
Need help selecting a membrane?
Send your feed water analysis and target water quality. Our engineers will recommend a model, provide the datasheet and quote your quantity.
Contact our engineers